Homemade Tomato Juice: Preserve Freshness & Boost Lycopene
There's a unique satisfaction that comes from creating something wholesome and delicious right in your own kitchen, and homemade tomato juice is a prime example. Moving beyond store-bought options, embracing the art of
how to make tomato juice from scratch is a growing trend, driven by a desire for fresher flavors, better nutritional control, and smart seasonal preservation. Whether you're a seasoned home cook or just starting your culinary journey, transforming ripe, succulent tomatoes into vibrant juice is a rewarding experience that offers year-round benefits.
Why Make Your Own Tomato Juice? Beyond the Bottle
The resurgence of interest in homemade tomato juice isn't just about nostalgia; it's a conscious choice for health, flavor, and sustainability. When you learn
how to make tomato juice at home, you unlock a host of advantages:
- Unparalleled Freshness & Flavor: Commercial juices often undergo extensive processing, which can diminish their natural vitality. Homemade juice, by contrast, captures the peak flavor of ripe tomatoes, offering a brighter, more robust taste that simply can't be replicated. You control the ingredients, ensuring no artificial preservatives, added sugars, or thickeners interfere with the pure essence of the tomato.
- Nutrient Powerhouse – Especially Lycopene: Tomatoes are famously rich in lycopene, a powerful antioxidant carotenoid. Interestingly, research shows that lycopene's bioavailability—how well our bodies can absorb and utilize it—is significantly *increased* by heat. This means that lightly cooking your tomatoes to make juice not only enhances flavor but also maximizes its nutritional punch. Additionally, you gain complete control over sodium content, a crucial factor for many health-conscious individuals.
- Seasonal Preservation: Have an abundance of garden tomatoes? Found a fantastic deal at the farmer's market? Making homemade juice is an ideal way to preserve this seasonal bounty. By canning or freezing your juice, you can enjoy the taste of summer sunshine even in the depths of winter, ensuring you always have a ready supply for soups, drinks, and culinary creations.
- Versatility in the Kitchen: Homemade tomato juice is incredibly versatile. It's the perfect base for savory beverages like a refreshing glass of plain tomato juice or a spirited Bloody Mary. It forms the foundation of countless soups and stews, adds depth to sauces, and can even be used as an ingredient substitution in various recipes.
Choosing the Best Tomatoes for Your Juice
The success of your homemade tomato juice begins with selecting the right produce. The quality of your tomatoes directly impacts the flavor and richness of your finished juice.
For the most classic and robust tomato flavor, opt for *ripe red tomatoes*. Excellent choices include:
- Plum or Roma tomatoes: These are often preferred for their meaty texture and lower water content, resulting in a thicker juice.
- Beefsteak tomatoes: Known for their large size and rich flavor, they yield a substantial amount of juice.
- Heirloom varieties: While they can vary greatly in flavor and texture, many heirlooms offer complex, nuanced notes that make for exceptional juice.
- Tomatoes on the vine: Often very ripe and flavorful, they are a solid choice.
If you prefer a sweeter juice, consider using *grape or cherry tomatoes*. Their concentrated sweetness can add a delightful dimension, especially if you're planning to use the juice primarily for drinking.
Regardless of the variety, ensure your tomatoes are *fully ripe*. Ripe tomatoes will have a vibrant color, be slightly soft to the touch, and smell distinctly fragrant. Avoid any with green patches, bruises, or mold, as these will compromise the flavor and shelf-life of your juice.
The Step-by-Step Guide: How to Make Tomato Juice at Home
Making fresh tomato juice is a straightforward process that primarily involves cooking, crushing, and straining. It’s a method that prioritizes thermal treatment and separation over elaborate equipment.
- Preparation:
- Wash your ripe tomatoes thoroughly under cool running water.
- Core the tomatoes, removing the stem end.
- Chop the tomatoes into quarters or smaller pieces. There’s no need to peel or deseed them at this stage, as the straining process will take care of that.
- Simmering:
- Place your chopped tomatoes into a large, heavy-bottomed pot or Dutch oven.
- Add a small amount of water (about 1/2 cup for every 5 pounds of tomatoes) to prevent sticking initially, though the tomatoes will release a lot of their own liquid as they heat up.
- Bring the tomatoes to a gentle simmer over medium heat, then reduce the heat to low.
- Cover and cook for 20-30 minutes, stirring occasionally, until the tomatoes are very soft and have released their juices. This simmering step is crucial for softening the tomatoes for easier straining and, importantly, for *heat-activating* that beneficial lycopene.
- Straining:
- Once soft, carefully transfer the cooked tomatoes, in batches, to a food mill, a fine-mesh sieve, or a colander lined with several layers of cheesecloth.
- If using a food mill, process the tomatoes to separate the pulp from the skins and seeds.
- If using a sieve or colander, use the back of a ladle or a sturdy spoon to press the softened tomatoes against the mesh, forcing the liquid and pulp through while retaining the skins and seeds. This will yield a slightly thicker, "unfiltered" juice, which is often preferred for its robust texture and flavor.
- Discard the remaining solids.
- Seasoning:
- Pour the strained juice back into the clean pot.
- Bring it back to a gentle simmer.
- Now is the time to season your juice. Start with a pinch of salt and pepper to taste. Remember, if you plan on canning, you might skip adding salt now and season later, or just add a minimal amount.
- For enhanced flavor, consider adding a dash of dried herbs like basil or oregano, a pinch of garlic powder, or even a tiny amount of sugar to balance acidity. For more seasoning inspiration and ways to elevate your juice, check out our guide on Unlock Flavor & Nutrition: Your Guide to Making Tomato Juice.
- Simmer for another 5-10 minutes, allowing the flavors to meld.
- Cooling:
- Remove from heat and allow the juice to cool slightly before transferring it to storage containers.
Preserving Your Homemade Tomato Juice: Extend the Season
Once you've mastered
how to make tomato juice, you'll want to ensure you can enjoy it for as long as possible. Here are the common methods for preservation:
- Refrigeration: Freshly made tomato juice can be stored in an airtight container in the refrigerator for up to 3 days. It's perfect for immediate enjoyment or short-term use.
- Freezing: For longer preservation, freezing is an excellent option.
- Pour cooled juice into freezer-safe containers, leaving about an inch of headspace to account for expansion. This includes plastic freezer bags (lay flat for efficient storage), rigid plastic containers, or glass jars specifically designed for freezing.
- Frozen tomato juice will maintain its quality for up to 12 months. Thaw in the refrigerator overnight or use directly in cooked dishes.
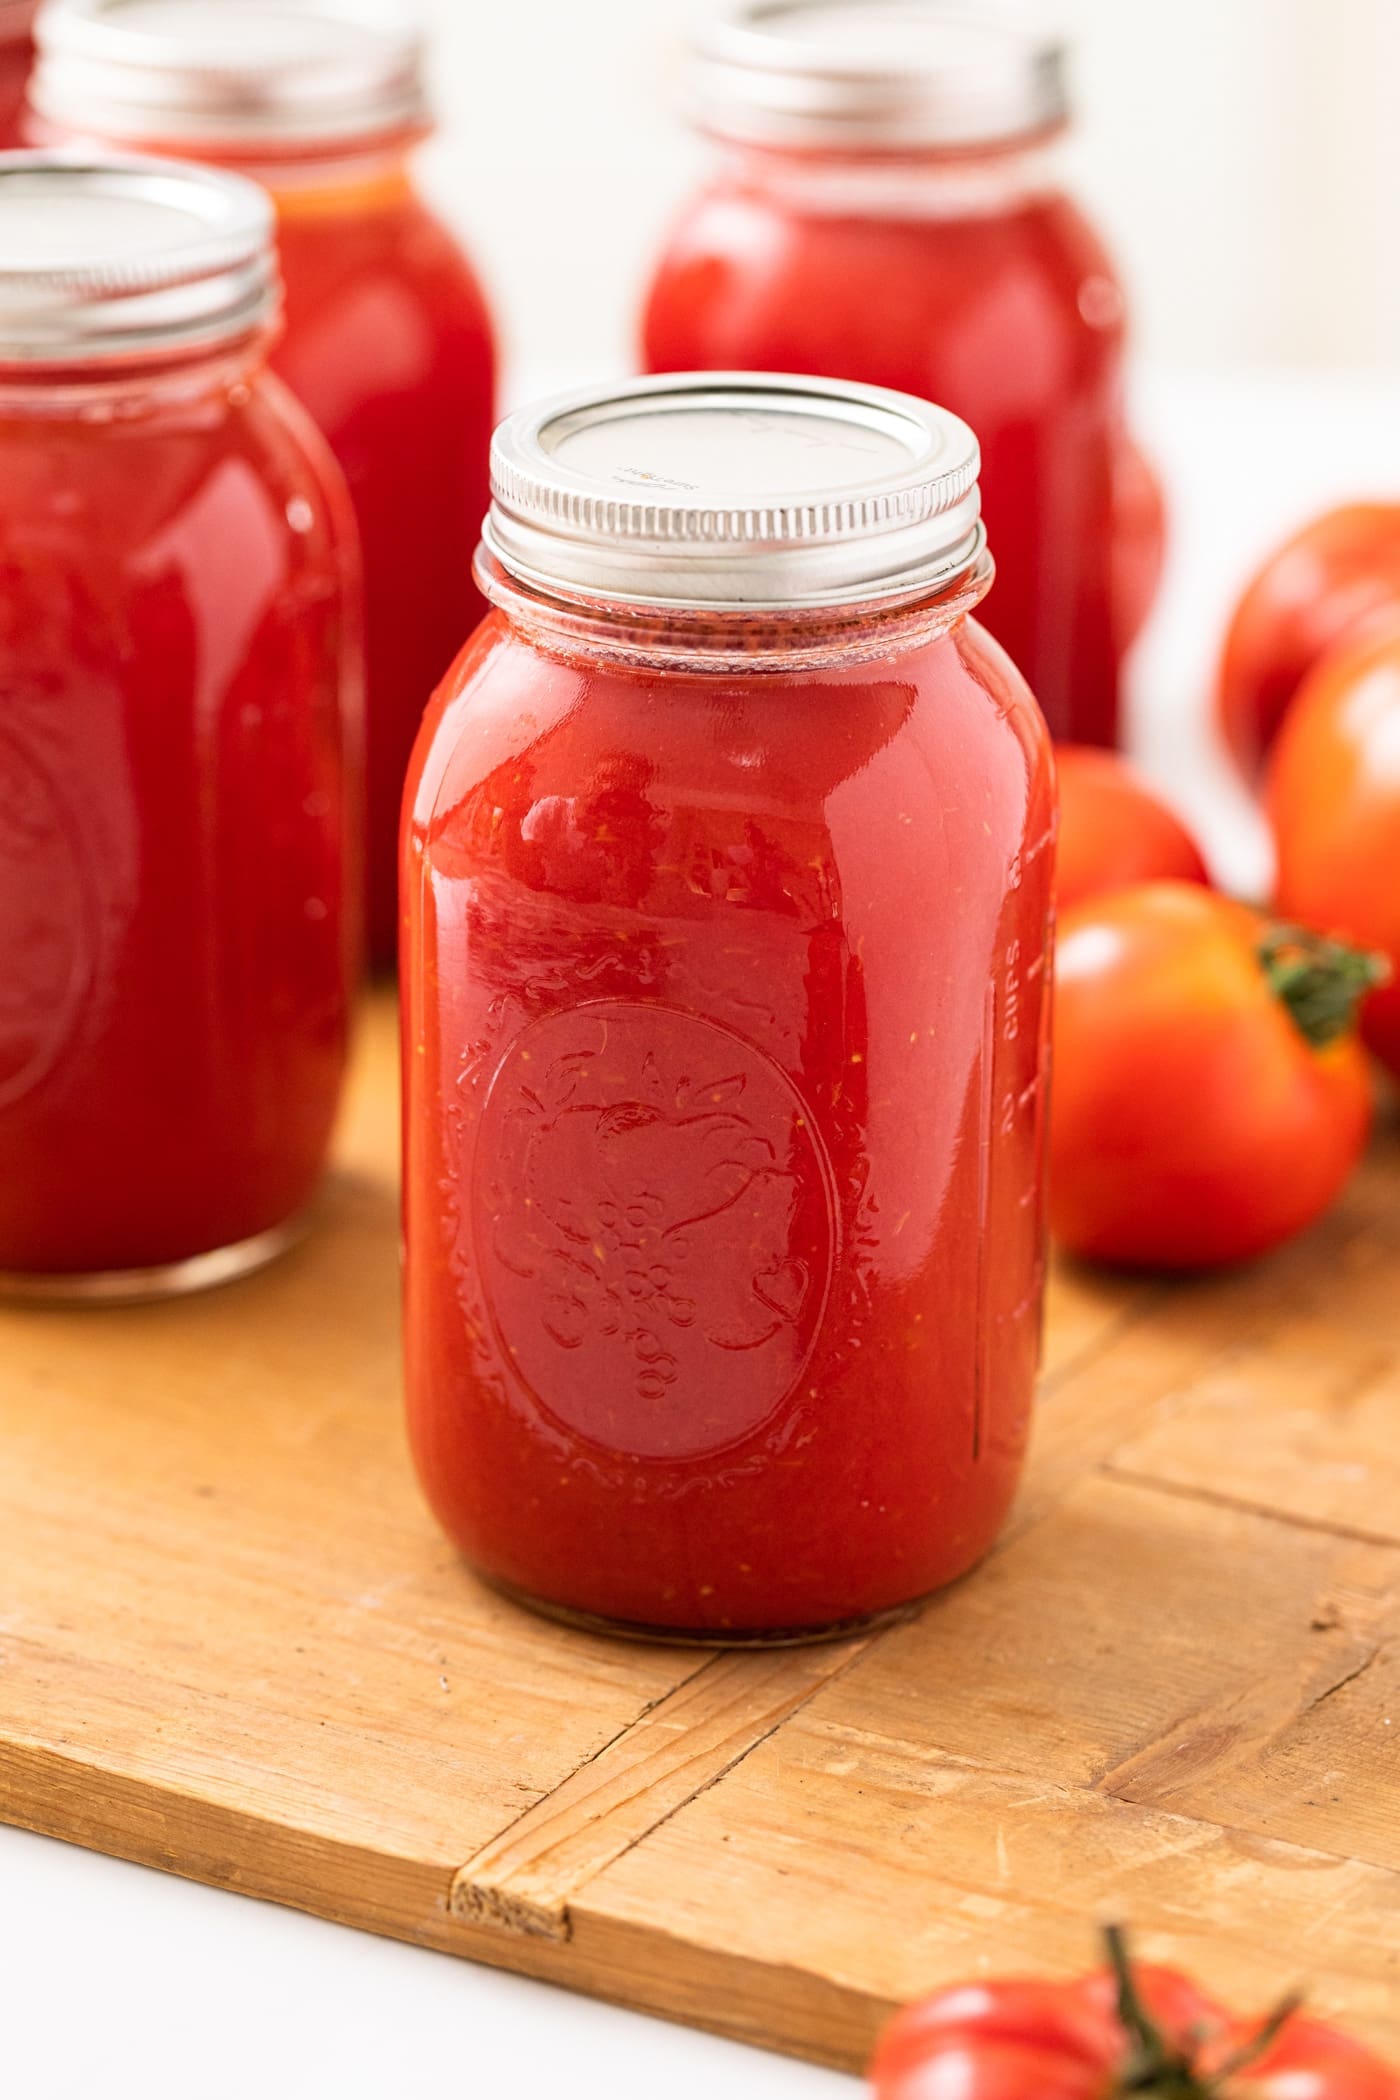
- Canning: For shelf-stable, long-term storage, water-bath canning is the way to go. This method requires a critical step to ensure safety: *acidification*.
- Because fresh tomatoes are not consistently high in acidity, you *must* add a reliable acid to each jar before processing. The USDA recommends using *bottled lemon juice* or *citric acid* because their acidity levels are standardized, unlike fresh lemon juice which can vary.
- For quart jars: Add 2 tablespoons of bottled lemon juice or 1/2 teaspoon of citric acid directly to each jar before filling with hot juice.
- For pint jars: Add 1 tablespoon of bottled lemon juice or 1/4 teaspoon of citric acid directly to each jar before filling with hot juice.
- Once filled, process the jars in a boiling water bath according to tested canning guidelines (processing times vary by altitude and jar size). For comprehensive instructions and safety precautions on this method, refer to DIY Tomato Juice: Safe Canning Tips for Your Seasonal Harvest. Correctly canned tomato juice can last for a year or more in a cool, dark pantry.
Maximize Lycopene & Nutrition
To truly leverage the nutritional benefits of your homemade tomato juice, especially its lycopene content, consider these insights:
- Heat is Your Friend: As mentioned, the cooking process significantly enhances lycopene absorption. Don't skip the simmering step!
- Add a Healthy Fat: Lycopene is fat-soluble, meaning it's better absorbed when consumed with a small amount of fat. While not part of the juice-making process itself, enjoying your tomato juice with a meal containing healthy fats (like avocado, nuts, or a drizzle of olive oil in a soup) can further boost its nutritional impact.
- Control Your Sodium: One of the biggest advantages of homemade juice is controlling sodium. If you're managing blood pressure or simply prefer a lower-sodium diet, you can omit salt entirely during preparation and season individual servings if desired.
Mastering
how to make tomato juice at home is more than just a recipe; it's an investment in your health, your culinary skills, and your connection to fresh, seasonal produce. From the vibrant flavor to the enhanced lycopene benefits and the joy of a well-stocked pantry, homemade tomato juice truly delivers a taste of summer, all year long. So, grab those ripe tomatoes and start juicing!